Selection / technical article
How to Choose a Concealed Furniture Connector
A practical selection path for matching a concealed connector to the joint, machining process, panel thickness and final assembly requirement.
Quick answer
The practical decision
Choose the joint first, then match the connector to the available drilling or grooving process and the panel range stated for that exact application. Confirm how the prepared panels will be aligned during final assembly, and validate the shortlisted model in the real board material before production approval.
Key takeaways
- Start with the physical joint rather than a model number.
- Separate drilling-type and grooving-type production routes.
- Use the thickness range for the exact application, not a family-wide assumption.
- Treat the selector as a shortlist and the sample build as the final validation step.
1. Define the panel-to-panel joint
A concealed connector only becomes a useful candidate when its intended joint matches the furniture structure. Begin with the two panels that must connect, their orientation and the direction in which they can be brought together.
Cabinet carcass corners, 45-degree miter joints, surface-to-surface connections, internal shelves and thick back panels create different geometric and access conditions. Naming the application clearly prevents a visually similar connector from being evaluated in the wrong joint.
- Identify both panels and the visible faces that must remain clean.
- Record the connection angle and assembly direction.
- Check whether the joint must be removable or only assembled once.
- Note tool and operator access during production and final assembly.
2. Match the connector to the machining route
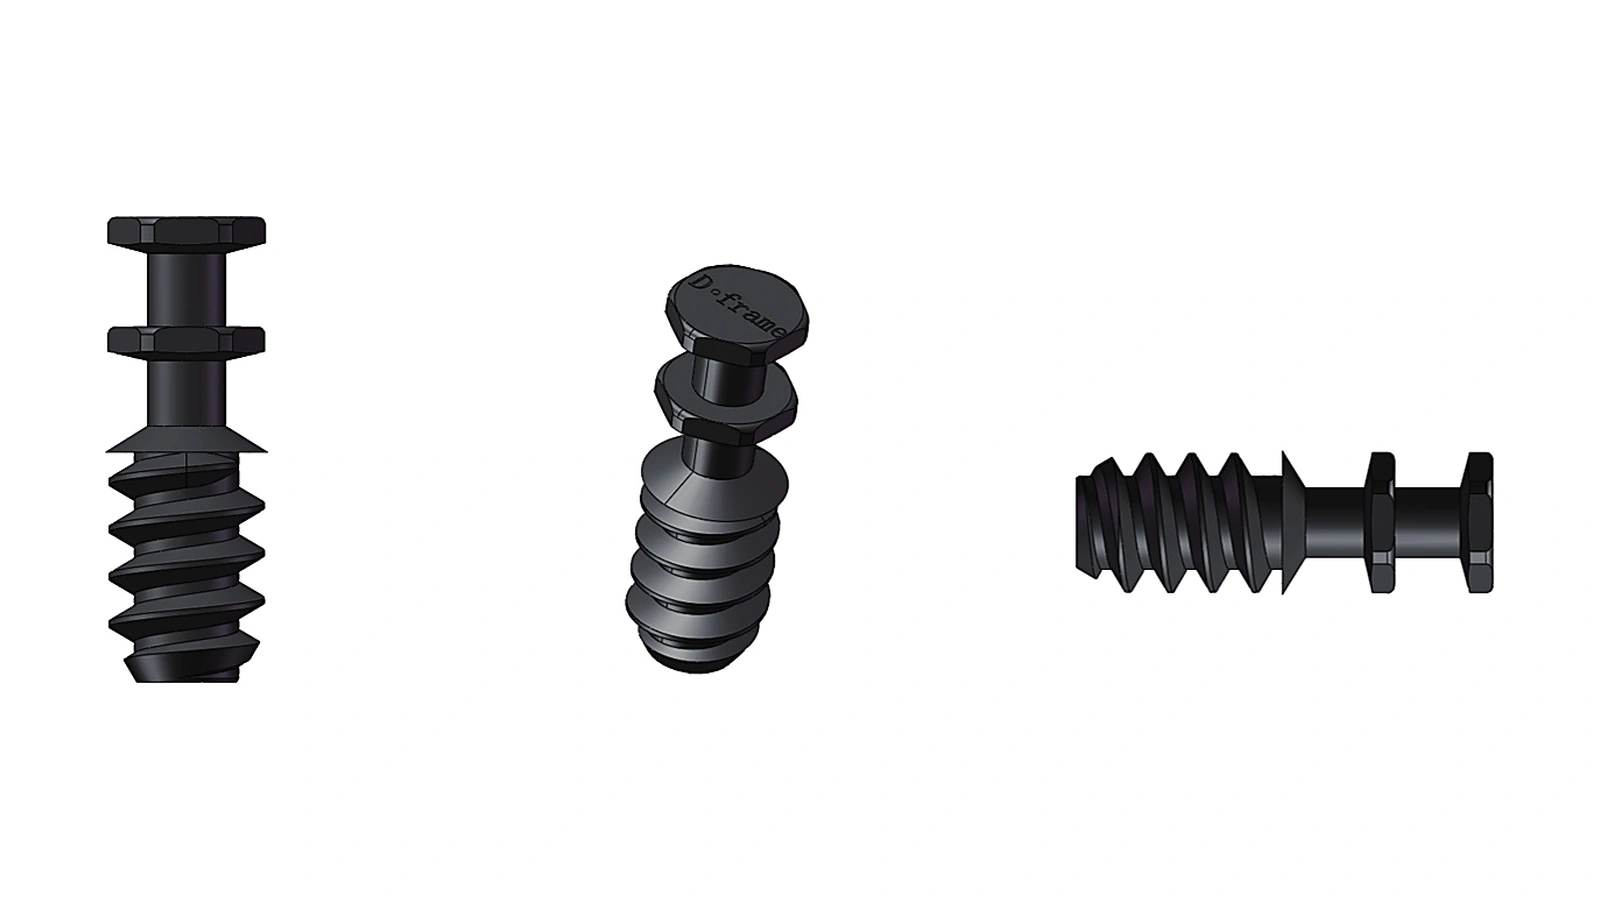
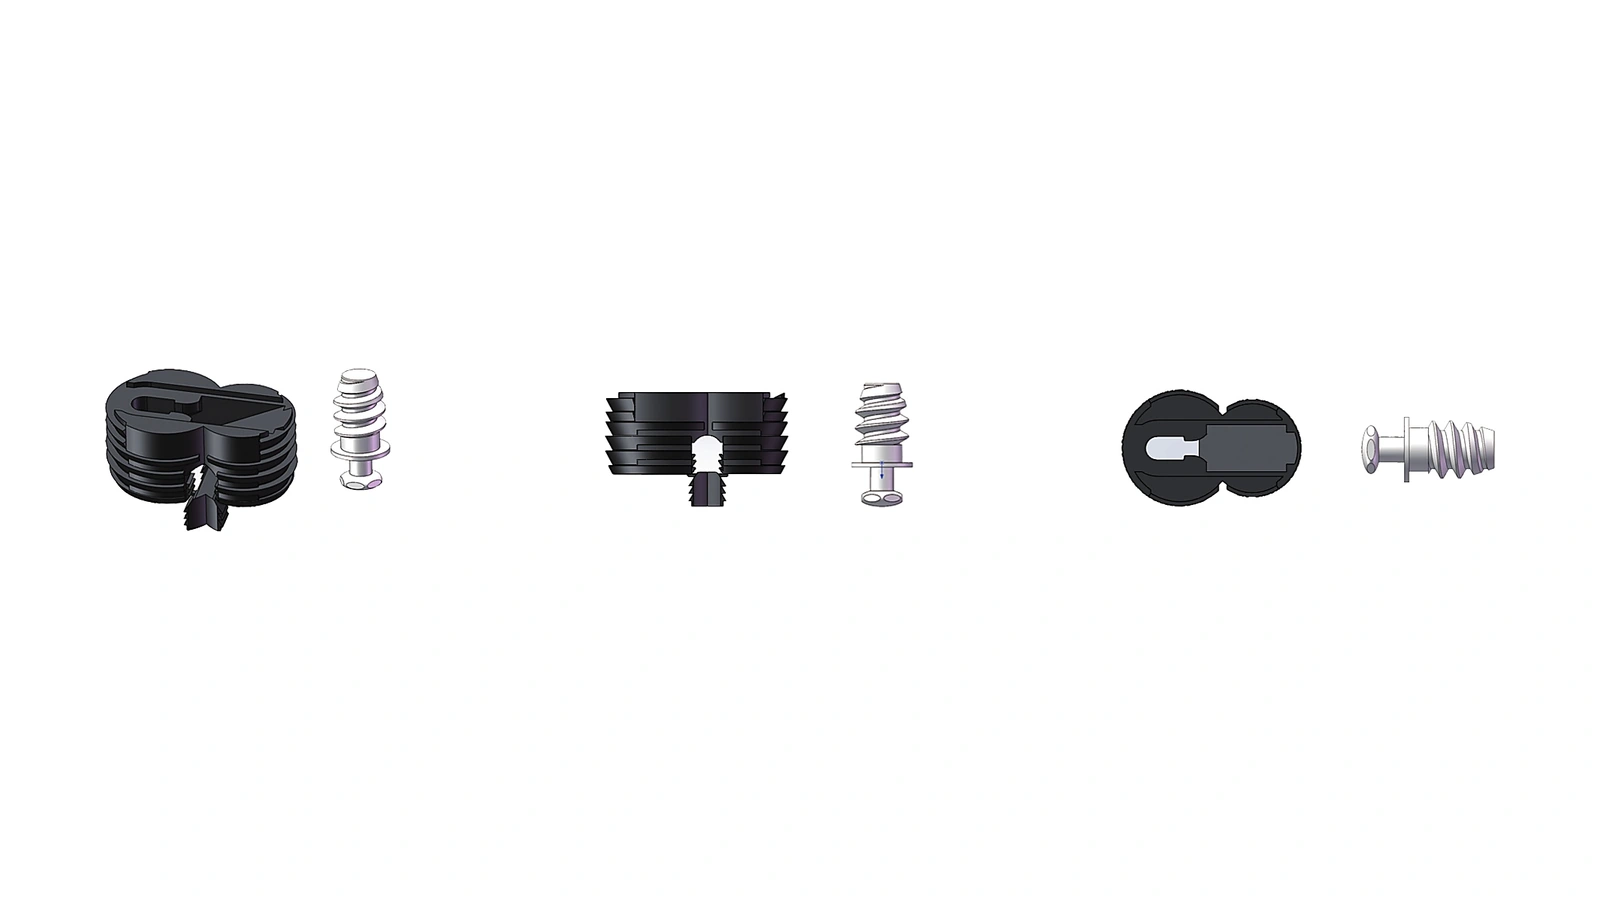
ConceaLynk connector models are organized around drilling-type and slotting or grooving-type preparation. The correct path depends on the equipment, fixtures and repeatability available in the factory.
Tool-free final assembly does not remove the production work. The panels still require model-specific machining, and the connector components must be installed before the prepared parts reach the final assembly stage.
3. Check the application-specific panel range
Do not apply one panel-thickness range to every use of the same model. A connector can have more than one application record, and each joint may have its own stated range.
Measure the actual board rather than relying only on the nominal purchasing description. Then compare that value with the record for the selected application. If a required range is not published, request model-specific information before machining a pilot batch.
4. Compare the shortlist and validate a real sample
After application, process and thickness have been filtered, compare the remaining models using their published information. Force figures can support preliminary comparison, but they are not a substitute for validation in the intended panel material and joint geometry.
A useful sample test records the material, actual thickness, tool setup, connector orientation, assembly sequence and observed joint behavior. This evidence is more valuable than selecting a connector from appearance alone.
- 01Create a joint drawing and record the actual panel material and thickness.
- 02Shortlist by application, machining route and panel range.
- 03Request the relevant sample and current machining reference.
- 04Build and inspect the joint under the intended production conditions.
Database-linked information
Referenced models
These ranges and applications are read from the same product database used by the catalog and selector.
| Model | Process | Application and panel range |
|---|---|---|
| D001 | Drilling |
|
| D001-9 | Drilling |
|
| S001 | Slotting / grooving |
|
| S001-9 | Slotting / grooving |
|
Buyer and engineer questions
Frequently asked questions
Should I choose a model before defining the joint?
No. Define the joint geometry, machining route and panel thickness first, then compare the models that match those conditions.
Does tool-free assembly mean the panels need no machining?
No. It refers to final furniture assembly after the panels have been machined and the connector components have been pre-installed.
Is the online selector a production approval?
No. It creates a technical shortlist. The selected connector still needs to be validated in the actual material, tooling and assembly conditions.
Continue the decision path